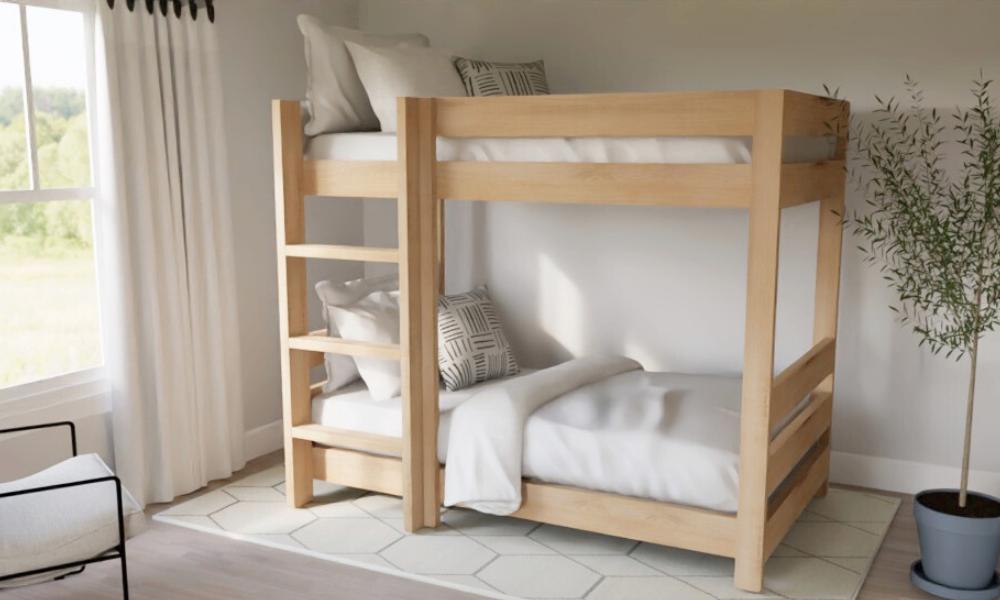
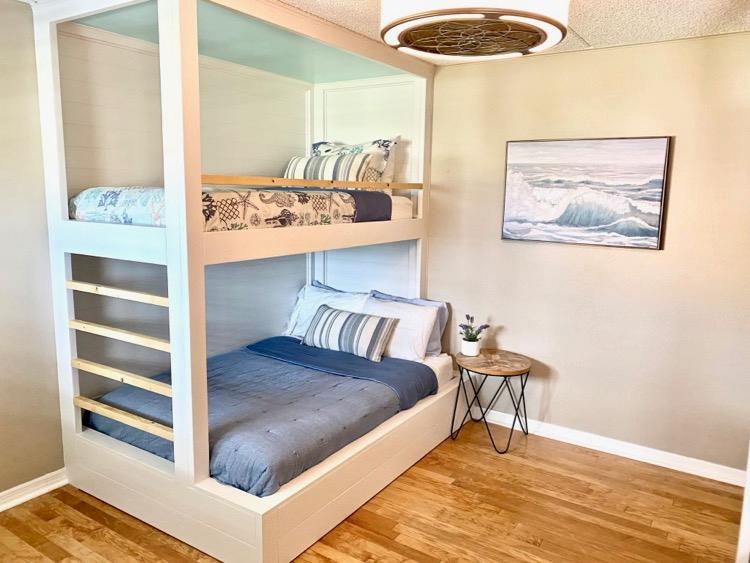
Bunk beds are a practical and space-saving solution, especially in homes where maximizing room space is essential. Whether you’re building bunk beds for your children, a guest room, or even a vacation cabin, constructing them yourself can be a rewarding project. Not only will you save money, but you’ll also create a custom piece of furniture tailored to your specific needs. This step-by-step DIY guide will walk you through the process of how to build bunk beds, from gathering materials to adding the finishing touches.

What Materials and Tools Do You Need to Build Bunk Beds?
Before you start building your bunk beds, it’s crucial to gather all the necessary materials and tools. Having everything ready will make the process smoother and more efficient.
How to Plan and Measure for Bunk Beds?
Proper planning and accurate measurements are the foundation of a successful bunk bed build. Take the time to plan out your design and double-check all measurements to ensure the final product fits your space perfectly.
1.Measure Your Space: Start by measuring the room where the bunk beds will be placed. Consider the height of the ceiling, the width of the room, and the available floor space. Make sure there’s enough clearance for the top bunk, allowing space for the user to sit up comfortably.
2.Determine Bed Size: Decide whether you want to build twin, full, or a combination of sizes (e.g., twin over full). This will dictate the dimensions of the wood and the overall design.
3.Plan the Ladder and Guardrails: Safety is a priority, so plan for a sturdy ladder and guardrails for the top bunk. The guardrails should be high enough to prevent falls, and the ladder should be securely attached to the frame.
4.Sketch a Design: Create a simple sketch of the bunk beds, including the dimensions and placement of the ladder and guardrails. This visual guide will help you stay on track during the build.
What Are the Steps to Build the Bed Frame?

Building the bed frame is the most critical part of the process. Follow these steps to construct a sturdy and secure frame for your bunk beds.
1.Cut the Wood to Size: Using your measurements, cut the wood to the required lengths for the bedposts, side rails, headboards, and footboards. A circular saw is ideal for making straight, precise cuts.
2.Assemble the Bedposts: Begin by assembling the four bedposts. Attach the side rails to the posts using wood screws and wood glue. Ensure that the joints are square and the frame is level before securing everything in place.
3.Build the Bed Slats: Cut the plywood into strips to create the bed slats. These will support the mattress. Space the slats evenly along the length of the bed frame and secure them with screws.
4.Add the Headboard and Footboard: Attach the headboard and footboard to the frame. These components add stability and provide a finished look to the bed.
5.Construct the Ladder: Build the ladder by cutting two long pieces of wood for the sides and several shorter pieces for the rungs. Attach the rungs securely using screws and wood glue, then fix the ladder to the bed frame.
What Are the Finishing Touches to Complete Your Bunk Beds?
Once the frame is assembled, the final touches will give your bunk beds a polished and professional appearance.
1.Sand the Entire Frame: Use sandpaper to smooth out all surfaces, edges, and corners. This will remove any splinters and prepare the wood for painting or staining.
2.Paint or Stain the Wood: Apply paint or wood stain to the bed frame according to your design preference. Use multiple coats for an even finish, allowing each coat to dry fully before applying the next.
3.Install Guardrails: Attach the guardrails to the top bunk using screws. Ensure they are securely fixed and at the correct height to prevent falls.
4.Add Mattresses: Once the paint or stain has dried, place the mattresses on the bed slats. Test the stability of the bed by gently shaking it and checking that all components are securely in place.
Conclusion
Building bunk beds is a rewarding project that not only saves money but also allows you to create a customized piece of furniture that fits your specific needs. By following this step-by-step guide, you can build sturdy and stylish bunk beds that will last for years. From gathering materials and planning the design to constructing the frame and adding the finishing touches, each step is crucial to the success of the project. With careful attention to detail and safety, you can create a functional and beautiful addition to any room.
FAQs
What safety precautions should I take when building bunk beds?
When building bunk beds, ensure all screws and bolts are tightly secured, use guardrails on the top bunk, and position the ladder safely. Regularly check the stability of the bed and avoid using weak or damaged materials.
Can I customize the design of the bunk beds to fit my space?
Yes, you can customize the design of your bunk beds to fit your space and needs. Adjust the dimensions, choose different materials, or add features like storage drawers or a trundle bed to create a unique piece.
How much time does it typically take to build bunk beds?
The time required to build bunk beds depends on your experience level and the complexity of the design. For a basic design, it typically takes one to two days to complete the project, including time for painting or staining.

0 Comments