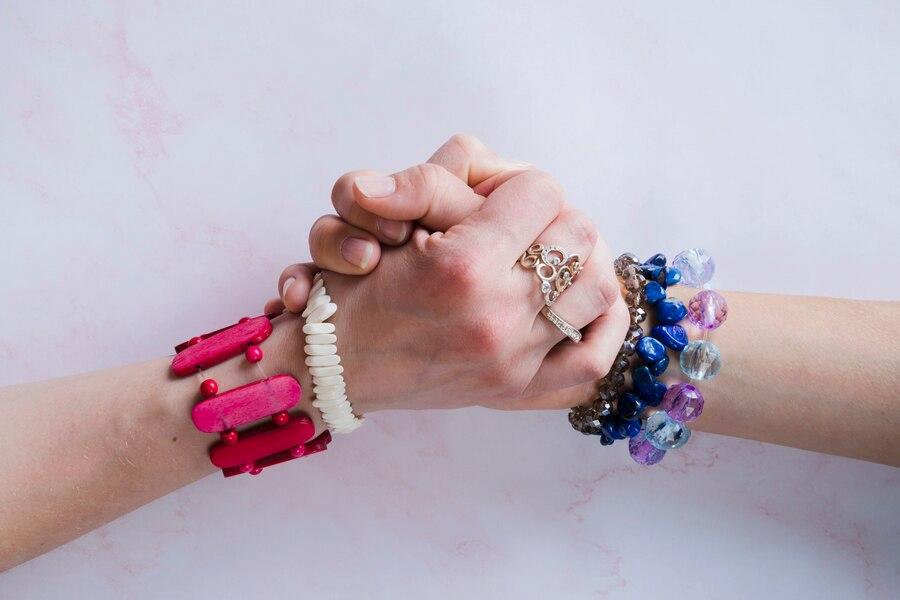
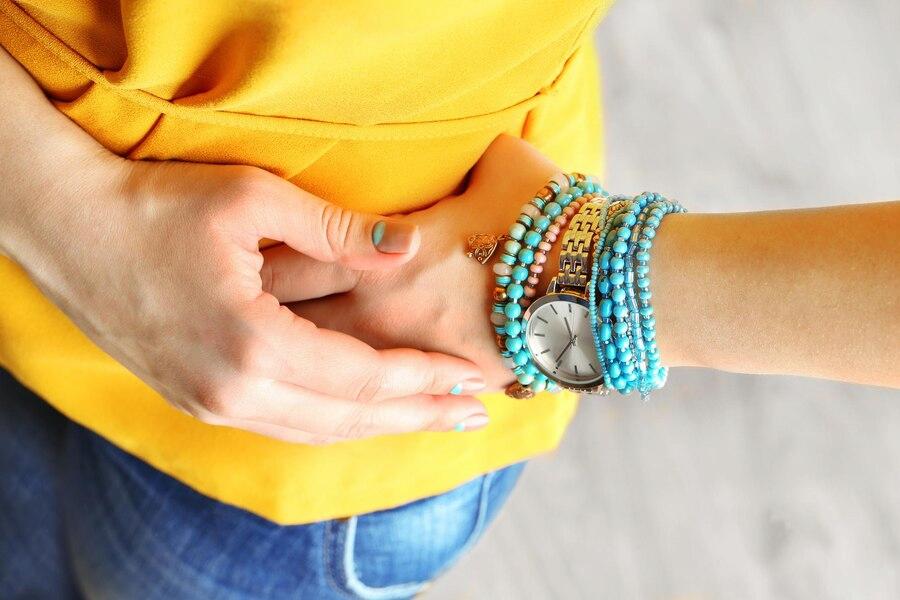
Double beaded bracelets are not only beautiful but also versatile, allowing you to play with different colors, patterns, and bead types. Whether you’re a seasoned jewelry maker or a beginner looking to explore the world of beadwork, creating a double beaded bracelet is a rewarding and enjoyable experience. In this article, we’ll cover everything you need to know, from choosing the right beads to step-by-step instructions and tips for perfecting your technique.

Understanding Double Beaded Bracelets
Double beaded bracelets are bracelets made with two strands of beads, typically woven or threaded in parallel to create a fuller, more intricate design. Unlike single-strand bracelets, double beaded bracelets offer a layered and textured look, giving them added visual appeal.
These bracelets are often made using a variety of beads, such as glass, gemstones, or even wooden beads, and are perfect for both casual and formal occasions. The design possibilities are endless, and by using two strands, you can combine different colors and bead sizes for a unique look.
Choosing the Right Beads and Supplies
Before you start crafting your double beaded bracelet, you need to gather the necessary supplies. Choosing the right beads and materials is essential for ensuring a well-made, durable bracelet that matches your style.
Step-by-Step Guide to Making a Double Beaded Bracelet

Creating a double beaded bracelet is a simple process when broken down into manageable steps. Follow this guide to craft your own custom bracelet.
Step 1: Prepare the Cord
Measure and cut about twice the circumference of your wrist plus 12 inches of elastic cord. Secure one end with a bead stopper or tape to prevent beads from falling off.
Step 2: String the Beads
Design your bracelet by stringing beads onto the cord. Mix and match colors and sizes to suit your style. Continue until the bracelet reaches about 7 to 8 inches, or enough to comfortably wrap around your wrist.
Step 3: Test the Fit
Before tying off, wrap the bracelet around your wrist to make sure it fits well. Adjust by adding or removing beads if necessary.
Step 4: Tie the Cord
Remove the bead stopper and tie the ends together with a secure knot, such as a surgeon’s knot, which is done by tying two overhand knots, ensuring the cord does not snap back through the beads.
Step 5: Secure and Conceal the Knot
For added security, dab a small amount of super glue on the knot. Then, slide a bead over the knot to hide it.
Step 6: Finish and Wear
Let any glue dry completely, then gently stretch the bracelet to distribute the tension evenly. Your double beaded bracelet is now ready to wear or give as a thoughtful, handmade gift.
Tips and Tricks for Perfecting Your Technique
Creating a perfect double beaded bracelet requires some practice and attention to detail. Here are a few tips to help you master the technique and avoid common mistakes.
Conclusion
Making a double beaded bracelet is a creative and enjoyable craft that allows you to design personalized jewelry with just a few simple materials. From selecting your favorite beads to learning techniques for a secure and stylish bracelet, the process is easy to follow and can be tailored to your style. Whether you’re creating these bracelets for yourself, as gifts, or to sell, mastering this craft opens up endless possibilities for creativity. With practice, you’ll be able to make beautifully crafted double beaded bracelets that are unique and meaningful.
FAQs
How long does it take to make double beaded bracelets?
The time it takes to make a double beaded bracelet depends on your design and experience level. For beginners, it can take around 30 minutes to 1 hour, while more experienced crafters may complete a simple bracelet in 20-30 minutes. Intricate designs with small beads or complex patterns may take longer.
How do I ensure my double bead bracelet is securely fastened?
To ensure your double beaded bracelet is securely fastened, always use a strong knot or crimp beads for added security. For elastic bracelets, a double knot or surgeon’s knot is recommended. You can also add a small dab of jewelry glue on the knot for extra hold. If using clasps, make sure to crimp the ends tightly.
How tight should the beading thread be on a double beaded bracelet?
The beading thread should be tight enough to keep the beads in place but not so tight that it restricts movement or causes the bracelet to feel stiff. A slight amount of flexibility is needed to ensure comfort and durability.

0 Comments