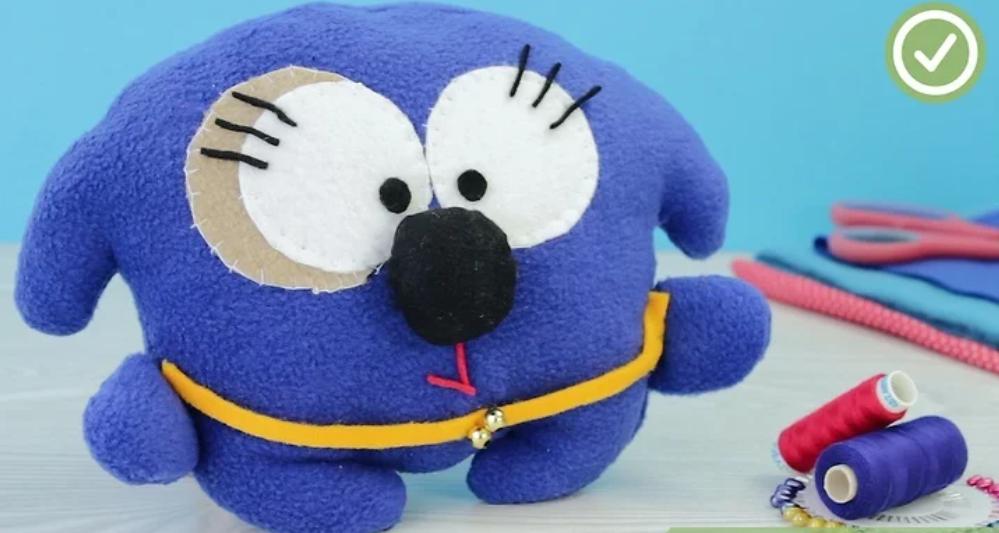
Creating plush toys is a fun and satisfying project, suitable for both beginners and experienced DIY enthusiasts. Learning how to make plush toys not only brings comfort and a touch of nostalgia but also results in popular gifts and keepsakes. This guide will take you through every step of the process, from gathering materials to designing, sewing, and adding those final, unique touches. Ready to get started? Let’s begin.

What Materials and Tools Do You Need?
To make a quality plush toy, start with the right materials and tools. Here’s what you’ll need to get started:
These items will allow you to move smoothly through each step of the process, from cutting and stitching to stuffing and finishing your plush toy.
How to Make a Plush Toy Pattern
Crafting a pattern is essential to shaping your plush toy. Start by designing a simple, approachable shape, such as a bear, heart, or star.
1.Sketch Your Design: Draw your plush toy’s outline on paper, keeping lines simple and clean. Focus on each component separately, like the body, head, arms, and legs.
2.Make a Template: Once you’re satisfied with your sketch, trace each part onto individual pieces of paper, adding a seam allowance of about ¼ inch to make sewing easier.
3.Label and Cut: Label each piece of the pattern so you’ll know exactly where it belongs (e.g., “front body,” “back body”). This is especially helpful if you have several small parts in your design.
4.Fold for Symmetry: If the toy is symmetrical, fold the pattern down the center line and refine any uneven edges. Cutting along the fold can help ensure the plushie looks balanced once sewn.
With your pattern complete, lay each piece on the fabric and trace around it with a fabric marker. These traced shapes will serve as your sewing guide and make it easier to cut precise, well-fitting fabric pieces.
Step-by-Step Sewing Instructions
With your pattern and materials ready, you’re now prepared to begin assembling your plush toy. This section will cover each essential step in the sewing process, from fabric cutting to assembling and shaping your toy.
Cutting Out Your Fabric Pieces
Align and Pin the Pattern: Place each paper pattern piece onto your fabric, securing it with pins to prevent any shifting. This step helps maintain accuracy while cutting.
Cut with Seam Allowance: Use fabric scissors to cut around the pattern, following the traced seam allowance. This buffer space is essential for sewing the edges securely without fraying.
Cutting Identical Pieces: For each section of the plush toy (like the front and back), cut two identical pieces to ensure both sides of the plush match when sewn together.
Cutting accurately and following the seam allowance gives your plush a clean shape and provides better structure once stuffed.
Sewing the Toy Body Together
Pin and Align Fabric: Align the cut fabric pieces with the right (outer) sides facing each other and pin them together. This step helps prevent shifting while sewing, ensuring even edges and smooth alignment.
Begin Sewing the Edges: With a sewing machine or needle and thread, stitch along the outer edges, leaving a small gap (around 1-2 inches) for stuffing. A straight stitch is ideal for beginners, as it provides stability without complicated sewing techniques.
Reinforce with Backstitching: Start and finish each seam with a backstitch to secure the stitches. This technique reinforces the edges, which is especially helpful for plush toys that may undergo frequent handling or play.
Handle Curves with Care: Slow down when sewing around curves or tight corners, adjusting the fabric as you go. Trim excess seam allowance on curved sections to reduce bulk and allow for a smooth finish once turned inside out.
Turning the Toy Right Side Out
After sewing, carefully turn the toy right side out using the opening left for stuffing. Be gentle with the fabric, especially around small or intricate areas, as tugging too hard may stretch or damage delicate fabrics. Use a blunt tool like a chopstick or the eraser end of a pencil to push out all corners and seams fully, helping give the plush toy its intended shape.
Tips for a Professional Finish:
Press the Fabric: If you want a smooth look, consider pressing the fabric lightly with an iron before starting the stuffing process. Be mindful of the fabric type—some materials like fleece don’t require ironing.
Check for Loose Stitches: Before adding stuffing, inspect all seams to ensure no gaps or loose threads could later weaken the structure of your plush toy.
These steps form the foundation of your plush toy, setting it up for stuffing and final personalization touches. By focusing on accurate cuts, secure stitching, and careful handling, your plush toy will have a durable and polished look.
Stuffing and Finishing Touches
With the toy’s body assembled, it’s time to bring your plushie to life by adding stuffing and personal details.
Filling and Shaping Your Plush Toy
Take small amounts of stuffing and insert them gradually, starting at the furthest corners and moving inward. Use a blunt object to press the stuffing evenly into every part of the toy, making sure it fills out the shape but doesn’t stretch the fabric. For a firmer feel, add more stuffing, but take care not to overfill, as this can alter the toy’s shape.
Closing Seams and Adding Details
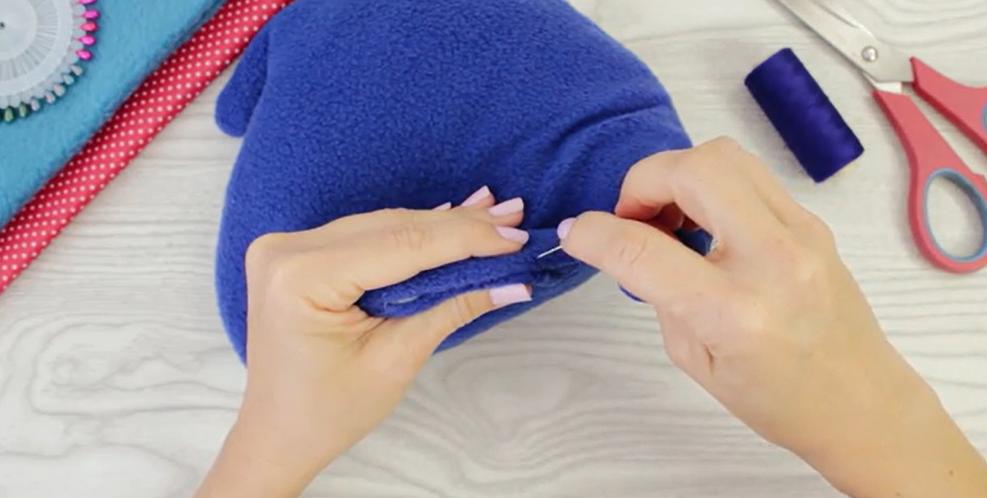
Once the toy is stuffed to your liking, close the opening with a ladder stitch, creating a secure and nearly invisible seam. This stitch helps keep the shape consistent and gives the toy a professional look. You can also add final details like embroidered eyes, nose, or mouth, or sew on accessories such as ribbons or fabric patches. These finishing touches give the toy personality and charm, transforming it into a truly unique keepsake.

Conclusion
Making a plush toy from scratch is a rewarding experience that brings a handmade touch to any gift or personal collection. If you’ve ever wondered how to make plush toys, all you need are some essential materials, a simple pattern, and these step-by-step instructions to get started. Creating a plush toy can be both enjoyable and straightforward. By carefully sewing, stuffing, and personalizing your creation, you’ll end up with a toy that’s soft, durable, and filled with personality. Take your time, enjoy the crafting process, and be proud of the plushie you’ve made with your own hands. This is a craft that adds warmth and creativity to every stitch.
FAQ
What’s the easiest fabric for making plush toys?
Fleece and felt are popular beginner choices. Fleece is soft, easy to work with, and offers durability, while felt has a thick texture that resists fraying, making it a favorite for simple designs.
Can I hand-sew plush toys instead of using a machine?
Absolutely, hand-sewing is a great option for those who don’t have a sewing machine. Use a backstitch for secure seams, especially in areas with frequent stress like edges or joints. Hand-sewing allows for careful control over each stitch, which is useful for small details and intricate designs.
How much stuffing do I need for a standard plush toy?
The amount of stuffing varies depending on the size of the toy. Smaller plush toys might need around ¼ pound of fiberfill, while larger ones could use up to ½ pound. Start with small amounts, adding more as needed to achieve your desired firmness and shape. This gradual approach helps prevent over-stuffing, which can distort the toy’s shape.

0 Comments