Preparing a fishing rod correctly is crucial for a successful freshwater fishing experience. Whether you’re new to fishing or have years of experience, knowing how to prepare a fishing rod is key to having a productive day on the water. This guide will cover everything you need to know about preparing your fishing rod for freshwater fishing. From gathering the right gear to making sure your setup is just right, you’ll learn all the essential steps needed to get ready for a great fishing adventure. With clear and simple instructions, you’ll be able to prepare your rod with confidence and set yourself up for a successful catch.

What Are the Essential Steps to Prepare a Fishing Rod?
Gathering the Right Fishing Gear
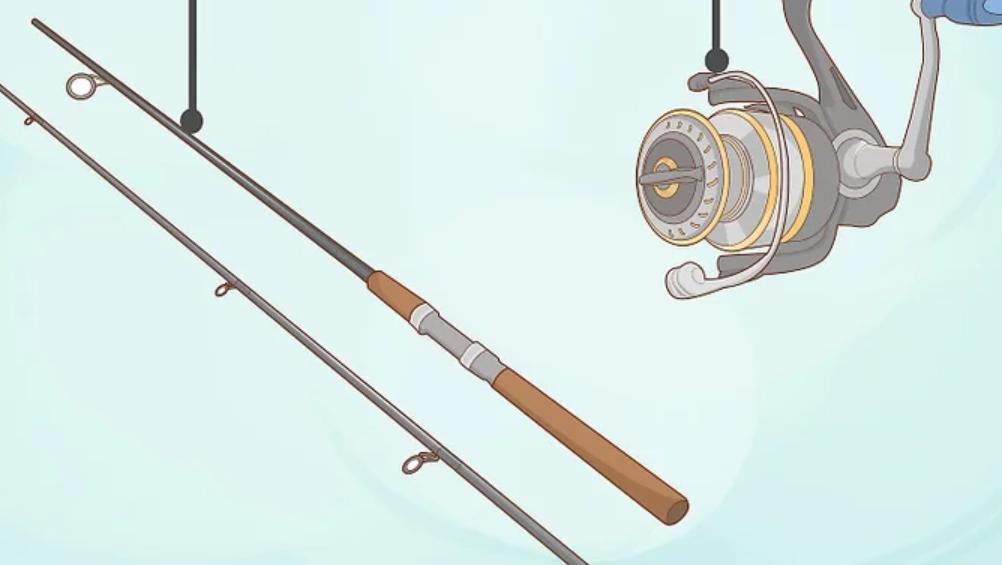
Before you start assembling your fishing rod, it’s important to gather all the necessary gear. This includes the fishing rod, reel, fishing line, hooks, sinkers, and bait. Ensure that your rod and reel are compatible with each other; check the rod’s specifications to match the appropriate reel type. The fishing line should also be chosen based on the strength and flexibility needed for the type of fish you’re targeting. Having the right gear at hand not only simplifies the setup process but also prepares you for any challenges that might arise while fishing. A well-prepared kit makes the entire experience more enjoyable and increases your chances of success. So, double-check that you have everything you need before you proceed to the next step.
Assembling the Rod and Reel
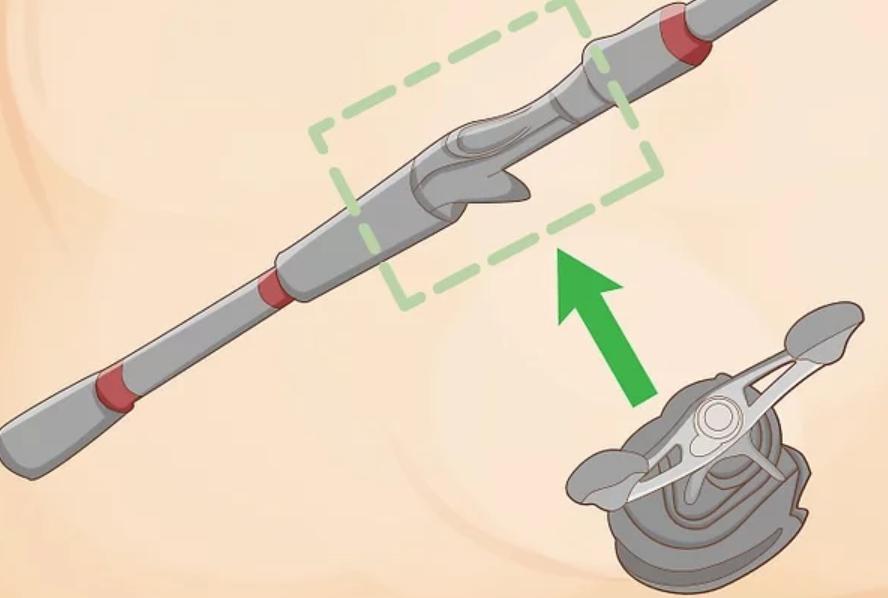
Once you have your gear ready, the next step is to assemble the rod and reel. If your rod comes in multiple pieces, start by connecting them. Align the sections carefully, ensuring that the guides (the small loops along the rod) are perfectly lined up. Once aligned, press the pieces together until they are firmly connected. Next, attach the reel to the rod. Insert the reel foot into the reel seat on the rod handle and secure it by tightening the reel seat lock. This connection should be firm and secure, as any movement can affect your casting accuracy. Proper assembly of the rod and reel is crucial for smooth operation and effective fishing. Taking your time with this step will ensure that your equipment performs well on the water.
Attaching the Fishing Line Properly
Attaching the fishing line to your reel is a step that requires precision. Begin by opening the bail (the wire arm on the reel) and threading the fishing line through each of the guides on the rod, starting from the tip and working your way down. Once the line is threaded, tie it to the spool of the reel using a secure knot, such as an arbor knot. Close the bail and begin winding the line onto the spool, keeping tension on the line to ensure it wraps tightly and evenly. Be careful not to overfill the spool; leave a small gap between the line and the edge of the spool. A properly attached and spooled line is essential for smooth casting and retrieval, reducing the risk of tangles and ensuring your line behaves predictably in the water.
How to Set Up the Tackle for Freshwater Fishing?
Choosing the Right Hook and Bait
Selecting the right hook and bait is critical for attracting the fish you want to catch. Choose your hook size based on the species of fish you’re targeting. Larger fish require larger hooks, while smaller fish are better caught with smaller hooks. Bait selection should also match the preferences of your target species—common options include worms, insects, or artificial lures. Attach the hook to the end of your fishing line using a secure knot, such as an improved clinch knot. Ensure the bait is firmly attached to the hook; this prevents it from falling off during casting or when fish nibble at it. The right combination of hook and bait increases your chances of a successful catch by making your setup more appealing to fish.
Adding Sinkers and Floats
Sinkers and floats play a vital role in controlling the depth at which your bait is presented in the water. Sinkers, which are small weights, help your bait sink to the desired depth quickly. They are especially useful when fishing in deeper waters or when targeting fish that dwell near the bottom. To attach a sinker, simply slide it onto your fishing line above the hook and secure it with a knot or split shot. Floats, on the other hand, keep your bait suspended at a certain depth and also act as a visual indicator when a fish bites. Attach a float by clipping it onto the line at the desired distance from the hook. The correct placement of sinkers and floats allows you to present your bait effectively, making it more likely to attract fish.
Setting the Drag on Your Reel
The drag system on your reel controls the amount of resistance a fish feels when it pulls on the line. Setting the drag correctly is important because it ensures that your line doesn’t snap when a fish makes a strong run. To set the drag, pull the line from the reel with your hand and adjust the drag knob until the resistance feels firm but not too tight. The ideal drag setting allows the fish to take some line without breaking it but provides enough resistance to tire the fish out. It’s often recommended to set the drag at about one-third of the line’s breaking strength. Proper drag adjustment is essential for successfully landing fish, as it balances the fight between you and the fish, reducing the risk of losing your catch.

Final Preparations Before Casting
Checking the Rod’s Tension and Flexibility
Before you start casting, it’s important to check the tension and flexibility of your rod. A well-prepared rod should have the right amount of tension in the line and enough flexibility to handle the pull of a fish without snapping. To check this, gently pull on the line to feel the tension. The rod should bend slightly but not too much. If the rod is too stiff, it might break under pressure; if it’s too flexible, it might not set the hook properly when a fish bites. Adjust the tension by checking the drag and ensuring all components are securely attached. Proper tension and flexibility are key to a successful fishing experience.
Ensuring All Connections Are Secure
Finally, before casting your line into the water, make sure all connections on your rod are secure. This includes checking that the reel is tightly attached to the rod, the guides are properly aligned, and the knots on your fishing line are strong and secure. Loose or weak connections can lead to equipment failure, resulting in lost fish or even broken gear. Take a few moments to double-check everything before you start fishing. A secure setup not only prevents accidents but also gives you the confidence that your equipment will perform well when it matters most. Ensuring all connections are secure is a small step that can make a big difference in your fishing success.
Conclusion
Knowing how to prepare a fishing rod for freshwater fishing is essential for any angler aiming for success. By following the steps outlined in this guide, you can ensure that your rod is ready for action, increasing your chances of landing a great catch. From gathering the right gear to making the final checks before casting, each step plays a vital role in setting you up for a productive fishing experience. Proper preparation not only makes your time on the water more enjoyable but also helps you avoid common mistakes that could cost you fish. So, take the time to prepare your fishing rod correctly, and you’ll be well on your way to a successful day of freshwater fishing.
FAQ
How often should I check my fishing rod setup during a fishing trip?
It’s recommended to check your setup every 30-60 minutes or after catching a fish to ensure everything remains secure.
Can I use the same setup for saltwater fishing?
While similar, saltwater fishing requires gear that can withstand corrosion and typically uses heavier tackle.
What should I do if my line keeps tangling?
If your line tangles, check the spool for overfilling, ensure the line is properly spooled, and consider using a swivel to reduce line twist.

0 Comments