Did you know that a simple restaining project can transform your kitchen cabinets and bring them back to life without the expense of a full remodel? Learning how to restain kitchen cabinets isn’t as hard as it might seem, you don’t need to be a professional carpenter to get the job done right. In this guide, we’ll show you how to restain kitchen cabinets step by step, so you can transform your kitchen into a space you’ll love. Let’s get started!

How to Restain Kitchen Cabinets
Restaining kitchen cabinets is a perfect project to breathe new life into your kitchen without undergoing a full remodel. With the right tools, a little patience, and some elbow grease, your cabinets can look as good as new—or even better.
Tools and Materials You Will Need
Before we jump into the process, let’s gather the essentials you’ll need to tackle this project. Having the right tools on hand can make all the difference:
Ensure you have everything on hand before starting to avoid interruptions during the process.

Step-by-Step Guide
Now that you’ve got everything you need, let’s break down the process into easy-to-follow steps.
Step 1: Prepare the Area
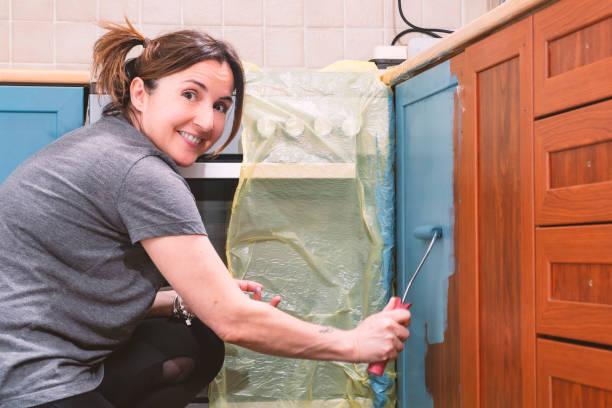
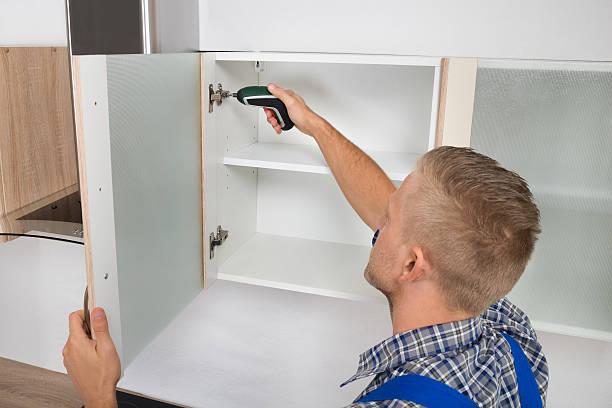
Start by removing all cabinet doors and hardware, including knobs, handles, and hinges. This step ensures you’ll be able to work efficiently without missing any spots. Use a screwdriver to carefully remove each piece. It’s a good idea to label the hardware or use small bags to keep everything organized. Lay down drop cloths to protect your countertops and floors from drips and spills.
Step 2: Clean the Cabinets
Once the doors are removed, it’s time to clean your cabinets. Over time, kitchen cabinets accumulate grease, dirt, and grime, which can prevent the stain from adhering properly. Use a wood cleaner or degreaser to wipe down all surfaces, ensuring a clean canvas for the stain. A thorough cleaning will go a long way in achieving professional results.
Step 3: Sand the Cabinets
Sanding is one of the most critical steps in restaining kitchen cabinets. Begin with a medium-grit sandpaper (120-150 grit) to remove the old finish and smooth out any imperfections. After that, switch to a finer grit (220-320 grit) to achieve a smooth surface. Be sure to sand with the grain of the wood to avoid scratches. Don’t forget to sand the edges and corners carefully.
Once sanding is complete, use a tack cloth to wipe away all the dust and debris. This ensures a clean surface for the stain to adhere to.
Step 4: Apply the Stain
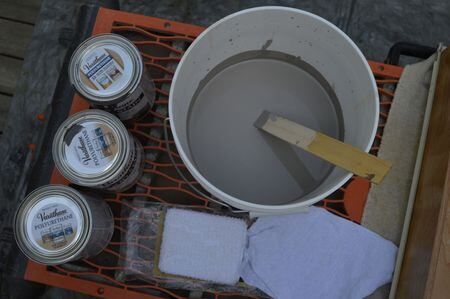
Here comes the fun part—applying the stain! Be sure to stir the stain well before starting (don’t shake it, as it can create bubbles). Using a brush, pad, or lint-free cloth, apply the stain evenly in the direction of the wood grain. Start with a thin coat to ensure even coverage. Allow the stain to penetrate the wood for the recommended time before wiping off the excess with a clean cloth. For a deeper color, apply additional coats as needed, allowing each coat to dry fully before moving on.
Step 5: Let the Stain Dry
Patience is key here. Allow the stain to dry completely before moving forward. Drying times vary depending on the type of stain and environmental conditions, but it usually takes about 24 hours.
Step 6: Apply a Protective Finish
Once the stain has dried, apply a polyurethane or clear protective finish to seal and protect the wood. This step will also give your cabinets a beautiful sheen and extend the life of the new stain. Use a foam brush or lint-free cloth to apply the finish in long, even strokes. Allow it to dry completely before adding a second coat for extra protection.
Step 7: Reassemble the Cabinets
After everything has dried and cured, it’s time to reattach the cabinet doors and hardware. Carefully align the doors and reinstall the knobs, handles, and hinges. Admire your handiwork—it’s like having a brand-new kitchen without the hefty price tag!

Common Mistakes to Avoid
While restaining kitchen cabinets isn’t rocket science, a few common mistakes can easily throw off your project. Here’s what to watch out for:
○ Skipping the sanding step: Proper sanding is crucial to allow the stain to adhere to the wood. Skipping this step can result in uneven coverage and a blotchy finish.
○ Applying too much stain at once: Less is more when it comes to staining. Applying thick coats of stain can lead to a sticky mess and uneven coloration. Thin, even coats work best.
○ Not allowing enough drying time: Impatience can ruin a perfectly good project. Always follow the recommended drying times between coats of stain and finish to avoid a tacky or uneven surface.
○ Failing to protect surrounding surfaces: Stain splatters can be difficult to remove, so take the time to cover nearby surfaces with drop cloths or painter’s tape.
○ Using the wrong tools: Using low-quality brushes or cloths can leave streaks or lint in the finish. Investing in good-quality materials will save you frustration and ensure a professional-looking result.
Conclusion
Restaining your kitchen cabinets is an excellent way to breathe new life into your kitchen without the hefty price tag of a full renovation. By following the proper steps, taking your time, and avoiding common pitfalls, you can achieve a stunning transformation that’s both satisfying and cost-effective. Whether you’re updating your kitchen for resale or simply wanting a fresh new look, knowing how to restain kitchen cabinets can make all the difference. So why not give it a try and see the magic unfold in your kitchen?
FAQs
Can you restain cabinets that are already stained?
Yes, you can restain cabinets that are already stained by sanding off the existing finish, applying a wood conditioner, and then applying the new stain.
Can you restain cabinets without sanding?
Yes, you can restain cabinets without sanding by using a deglosser or liquid sandpaper to prepare the surface, though sanding often yields better results.
How do I maintain my cabinets after refinishing?
To maintain cabinets after refinishing, regularly clean them with a mild soap solution, avoid harsh chemicals, and apply furniture polish or wax to protect the finish.

0 Comments