Setting a timer for outdoor lights is an effective way to save energy and reduce your electricity bills. By automating your outdoor lighting, you can ensure that your lights only operate when needed, preventing unnecessary energy consumption. Whether you’re using lights for security or decoration, a timer helps manage when and how long they stay on. This not only conserves energy but also extends the lifespan of your bulbs. In this guide, you’ll learn how to set a timer for outdoor lights, explore the different types of timers available, and discover tips to optimize your outdoor lighting system for maximum energy efficiency.

Why Should You Set a Timer for Outdoor Lights?
Benefits of Setting a Timer for Outdoor Lights
Setting a timer for outdoor lights offers multiple benefits. First, it saves energy by ensuring lights are only on when necessary, which directly reduces electricity costs. Timers also add convenience, automating the process so you don’t have to manually turn lights on or off. Additionally, they enhance security by making it look like someone is home even when you’re away. Lastly, timers contribute to the longevity of your outdoor lights by limiting the time they are in use, which can reduce wear and tear on bulbs and fixtures.
How Timers Help in Saving Energy
Timers play a crucial role in energy conservation. By setting specific on and off times, you can control exactly when your outdoor lights are in use. This prevents lights from being left on during daylight hours or when they’re not needed at night. For example, you can set the lights to turn off at midnight when activity around your home decreases, thus avoiding unnecessary energy consumption. Over time, this simple adjustment can lead to significant savings on your electricity bill, making timers a smart investment for any homeowner focused on sustainability.
How to Choose the Right Timer for Your Outdoor Lights?
Types of Timers Available
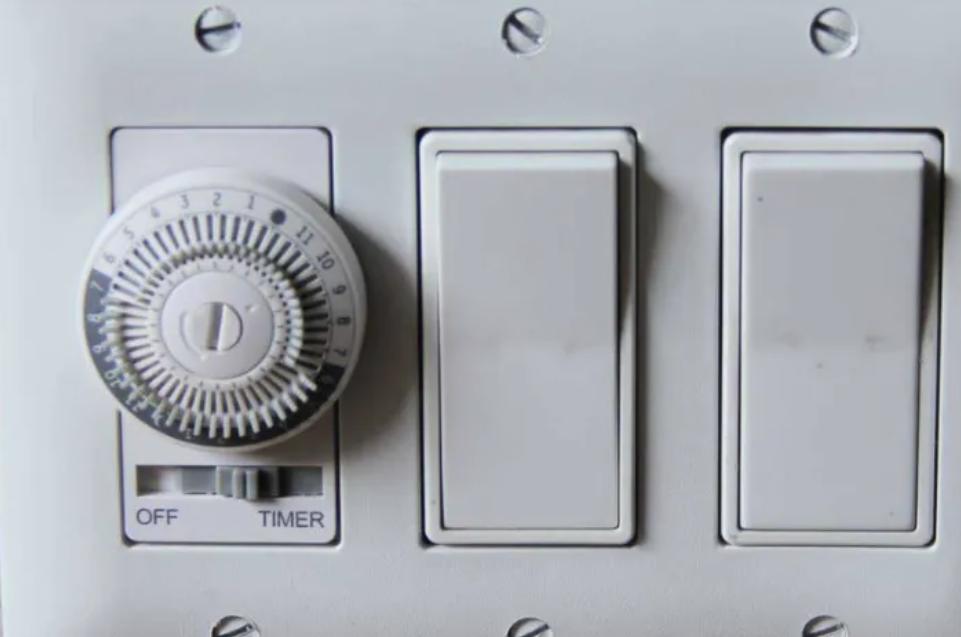
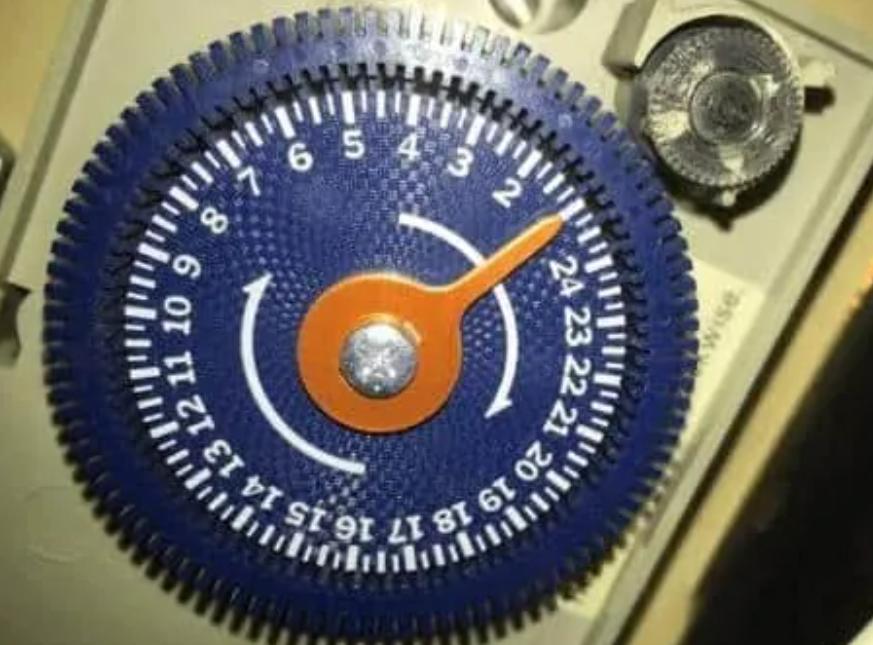
There are several types of timers available for outdoor lights, each offering different features. Mechanical timers are the most basic and operate by manually setting the time on a dial. They are reliable and easy to use but lack advanced features. Digital timers offer more precision and can be programmed for various on/off cycles. Some even have battery backups to retain settings during power outages. Smart timers, the most advanced option, can be controlled remotely via a smartphone app and integrated into home automation systems. They offer the most flexibility and convenience for managing your outdoor lighting.
Factors to Consider When Buying a Timer
When choosing a timer for your outdoor lights, consider several factors to ensure you get the best fit. First, determine the type of lights you have and check the timer’s compatibility. Some timers are specifically designed for LED or incandescent bulbs. Next, consider the ease of installation and programming. A user-friendly timer will save you time and frustration. Durability is also crucial, especially for outdoor use, where timers are exposed to the elements. Look for weather-resistant models that can withstand rain, snow, and extreme temperatures. Lastly, think about additional features like remote control or energy usage monitoring, which can enhance your overall lighting management.
Best Brands and Models for Outdoor Light Timers
When it comes to outdoor light timers, several brands stand out for their reliability and performance. Intermatic is a popular choice, known for its durable mechanical and digital timers. Their products are weather-resistant and easy to install, making them ideal for outdoor use. Honeywell offers advanced digital timers with features like customizable schedules and backup batteries. For those interested in smart home integration, brands like Wemo and Kasa provide smart timers that can be controlled via Wi-Fi and integrated with voice assistants like Alexa or Google Assistant. These brands offer various models to suit different needs, ensuring you can find a timer that fits your specific requirements.

Step-by-Step Guide: How to Set a Timer for Outdoor Lights
Setting a Mechanical Timer
Setting a mechanical timer for outdoor lights is straightforward. Begin by plugging the timer into an outdoor outlet, then connect your light fixture to the timer. Turn the dial to set the current time, aligning it with the correct time on the timer’s clock face. Next, set the desired on and off times by pushing down the corresponding tabs or pins on the dial. Each tab represents a 15- or 30-minute interval, depending on the timer model. Once all settings are in place, ensure the timer is in the “Timer” mode, not “Always On.” Your lights will now operate automatically based on the schedule you’ve set.
Setting a Digital Timer
Setting a digital timer for outdoor lights provides more precision and flexibility. Start by plugging the timer into an outdoor outlet, then connect your lights. Use the digital interface to set the current time, often done by pressing a “Time” button and adjusting with the “+” and “-” buttons. Next, program the on and off times by selecting the “Program” mode. You can usually set multiple on/off cycles throughout the day, depending on your needs. Some digital timers allow you to set different schedules for weekdays and weekends. After programming, switch the timer to “Auto” mode to activate the schedule. The digital timer will now control your lights according to your customized settings.
Setting a Smart Timer with Wi-Fi Control
Setting a smart timer for outdoor lights offers the most convenience and control. First, install the smart timer by plugging it into an outdoor outlet and connecting your lights. Download the corresponding app on your smartphone and follow the on-screen instructions to connect the timer to your home Wi-Fi network. Once connected, you can set on and off times directly from the app, allowing you to control your lights remotely. Some smart timers also offer features like sunrise/sunset synchronization, where the lights automatically adjust based on the time of day. Additionally, you can integrate the smart timer with other smart home devices for seamless automation. With a smart timer, you can easily manage your outdoor lighting from anywhere.
Conclusion
Setting a timer for outdoor lights is an easy and effective way to save energy and reduce your electricity bills. By choosing the right timer and setting it correctly, you can ensure your outdoor lights operate only when needed, providing both convenience and security. Whether you opt for a mechanical, digital, or smart timer, each offers unique benefits that can help you manage your outdoor lighting efficiently. Regularly adjusting your timer settings and following best practices will maximize energy savings and extend the lifespan of your outdoor lights. Now that you know how to set a timer for outdoor lights, you can take control of your energy usage and enjoy a well-lit outdoor space without worrying about high electricity costs.
FAQ
Can I Set a Timer for Any Type of Outdoor Light?
Yes, most types of outdoor lights can be set on a timer, including LED, incandescent, and solar-powered lights. Just ensure the timer is compatible with your specific light type.
How Often Should I Adjust the Timer Settings?
Adjust the timer settings seasonally or when daylight saving time changes to ensure your lights only operate when necessary, optimizing energy savings.
What Should I Do If My Timer Stops Working?
Check the power source and settings first. If the timer still doesn’t work, consult the manual for troubleshooting or consider replacing it if it’s an older model.

0 Comments